Step 1: Login to your TP-Link router via the default gateway.
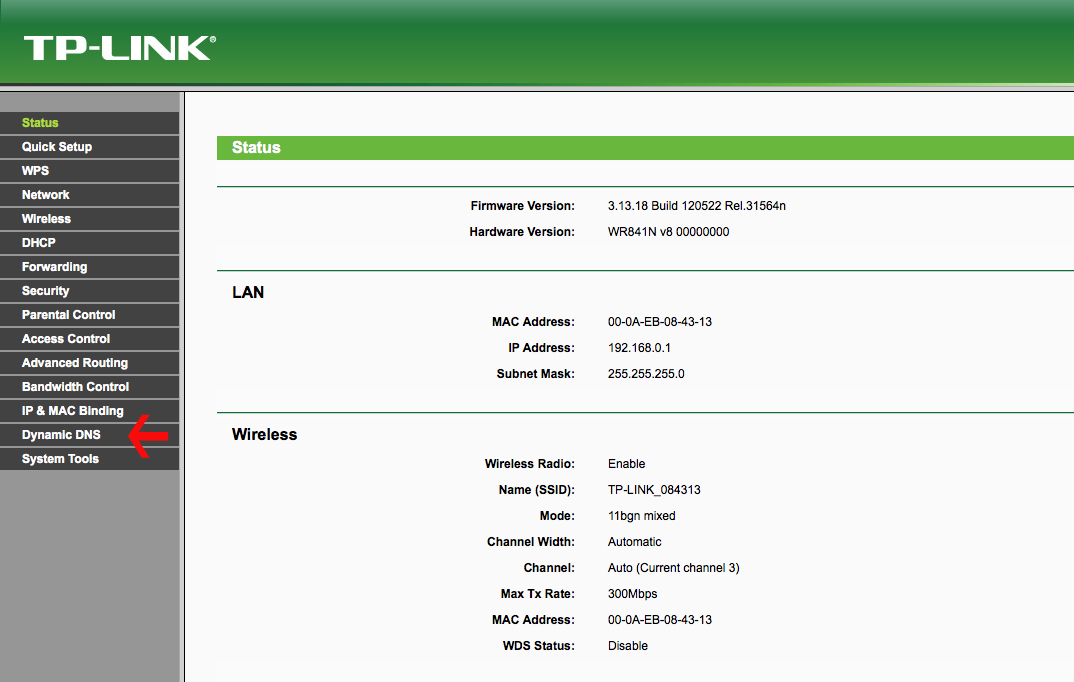
Step 2: Once logged in, click on “Dynamic DNS.”
Step 3: Select No-IP as the service provider. Next, enter your DDNS Key username and DDNS Key password, as well as all.ddnskey.com as the domain. Then click “Enable DDNS.”

DDNS Key usernames and passwords are created individually for each hostname or group of hostnames. They are generated from the DNS Records page in your account.
Step 5: Click “Save.”
Congratulations, the TP-Link router will now send No-IP updates whenever the IP address changes