If you haven’t yet, you’ll first need to purchase a certificate.
- RapidSSL Basic DV will cover one hostname or domain, such as, example.ddns.net.
- RapidSSL Wildcard DV will cover your domain (example.com) and can cover all sub-domains (name.example.com).
- GeoTrust QuickSSL Premium covers only a single hostname or domain, but with a much higher warranty. This has a different method of validation.
- No-IP Vital Encrypt DV SSL will cover one hostname or domain, such as, example.ddns.net. This certificate is included automatically if you have our Plus, Pro, or Enhanced service.
SSL coverage is not automatic so you will need to have it issued to you, and install it, for it to work properly. You can learn how, below.
Locate Your SSL
From your No-IP account, click My Services on the left menu bar, then SSL Certificates. On this page, you will find your certificates. Your goal is to create, and a submit a CSR (Certificate Signing Request).

Generate a CSR
You will need to generate a CSR. You can do this from the device that will receive the certificate. We have several guides for different operating systems on how to create a CSR. If you don’t see your server in our knowledge base you can also check out our certificate provider’s knowledgebase.
If you run into any issues submitting the CSR, here’s a list of CSR Upload Errors you may encounter.
The CSR must use the s
Submit a CSR
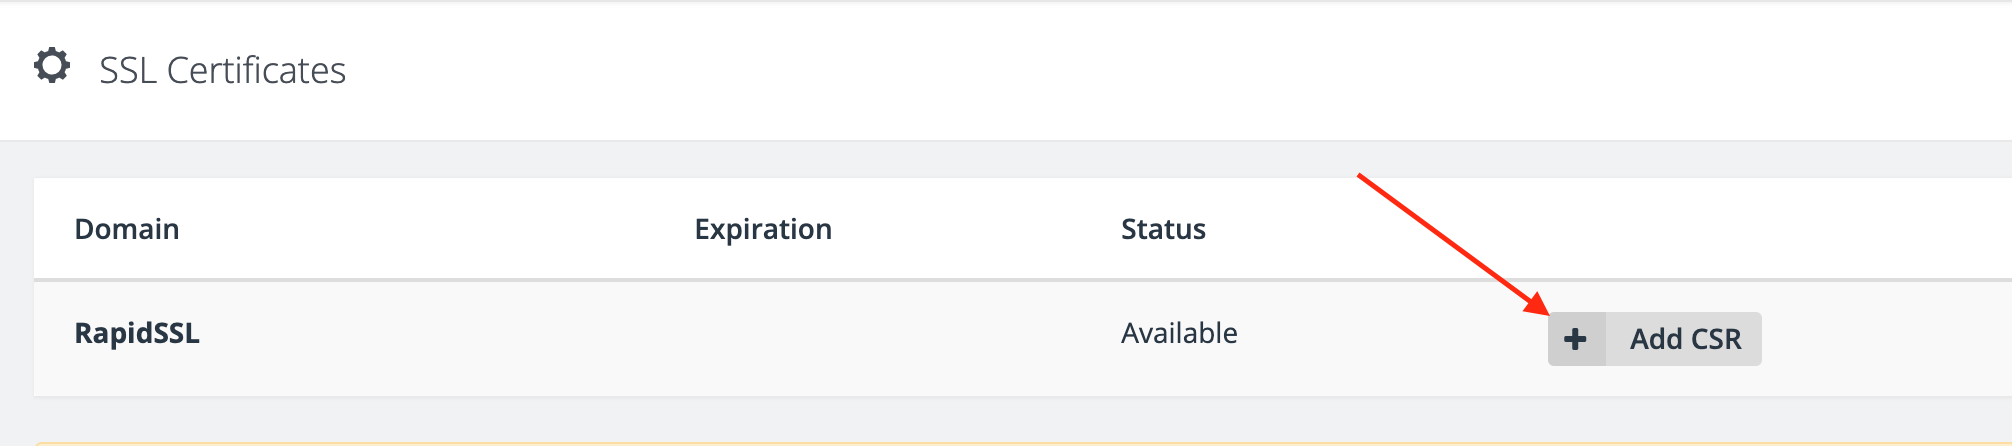
Once you have created a CSR, navigate back to your No-IP account under My Services, then SSL Certificates.
Locate the SSL that needs the CSR added and click the Add CSR button.
In the pop up that appears is where you will paste the CSR you have generated.
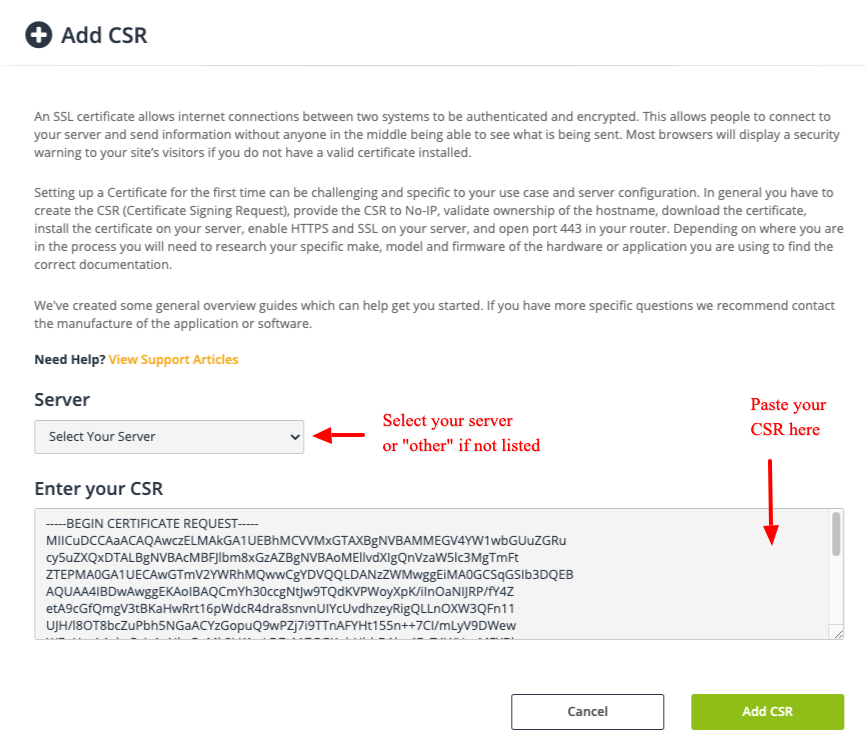
Click the Add CSR button to proceed. Next, you will need to enter your contact information for the SSL.
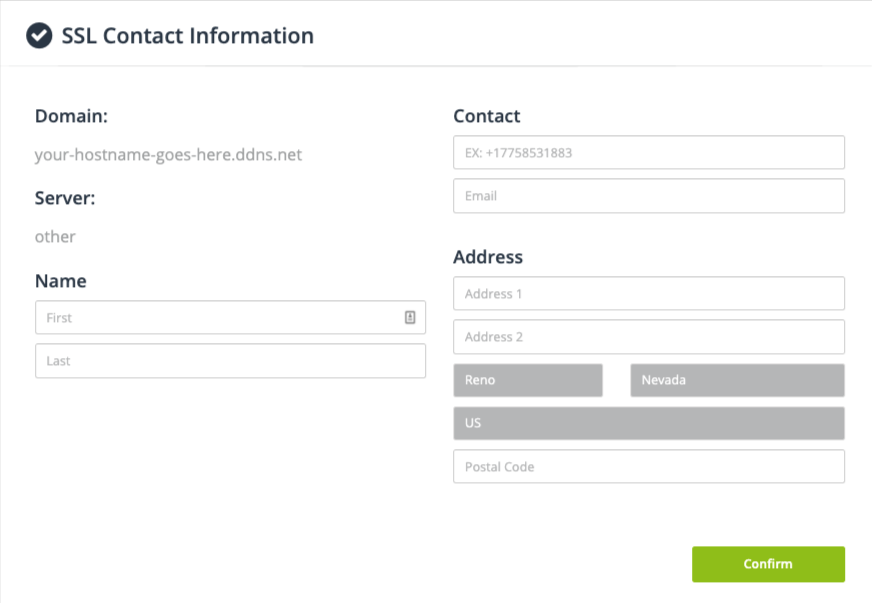
Click the Confirm button when finished.
SSL Validation and Receiving Your Certificate
You will be given a TXT value for verification. If you have our DNS service on your domain, we will add this record automatically to the hostname listed in the CSR. If the DNS on your domain is managed by another provider, you will need to add this TXT record on their system.

You will need to wait for the verification to complete. This can take up to 24 hours. When verification completes, you will get an email from Digicert with your certificate, and your order ID.
If your SSL is an No-IP Vital Encrypt SSL, you won’t get an email. You will be able to download the certificate straight from the SSL page in your No-IP account.
Installation
Our certificate provider has an extensive knowledge base with instructions on installing your new certificate. Find your server in the list, and follow the instructions.
Once installed and configured on your server, connections to your device will now be secured.