Below is the complete step-by-step process for configuring your WAMP Server.
Step 1: Create a No-IP account and hostname. If you have not done so, please click here.
Step 2: Install the WAMP Server software. This software is available for Windows-based machines only and can be found on WAMP’s website.
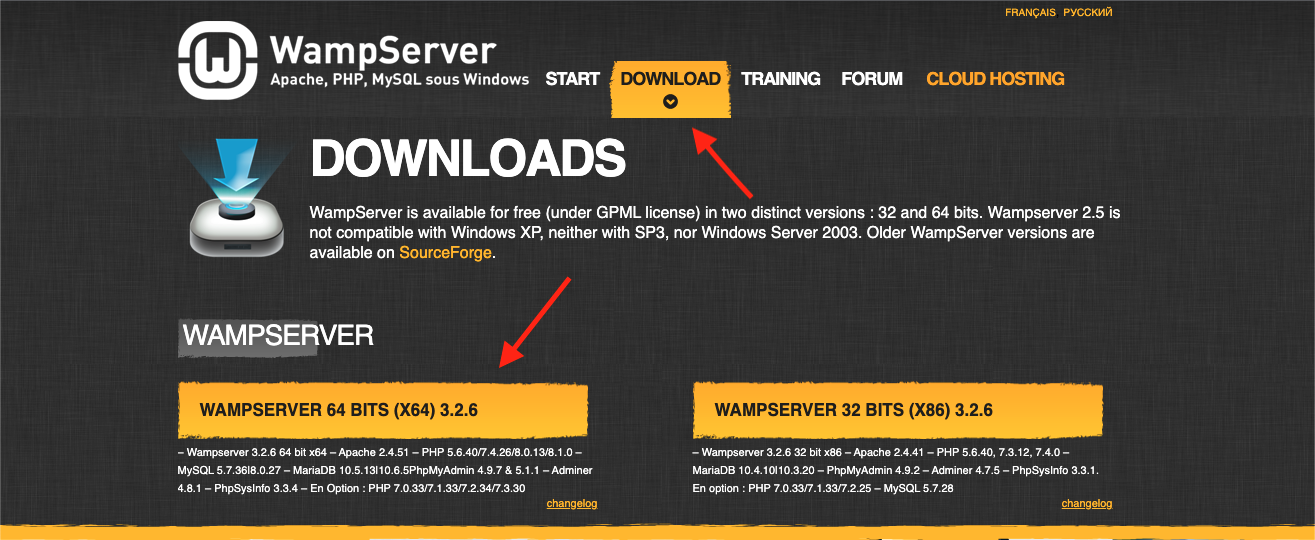

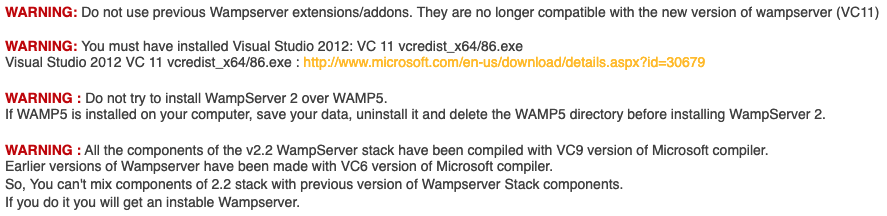
Heed the warnings on this download page as well. Your Windows OS will require certain software and you may need to download them before hand:
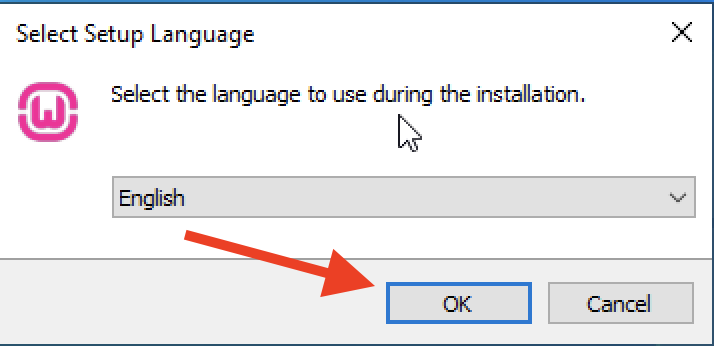
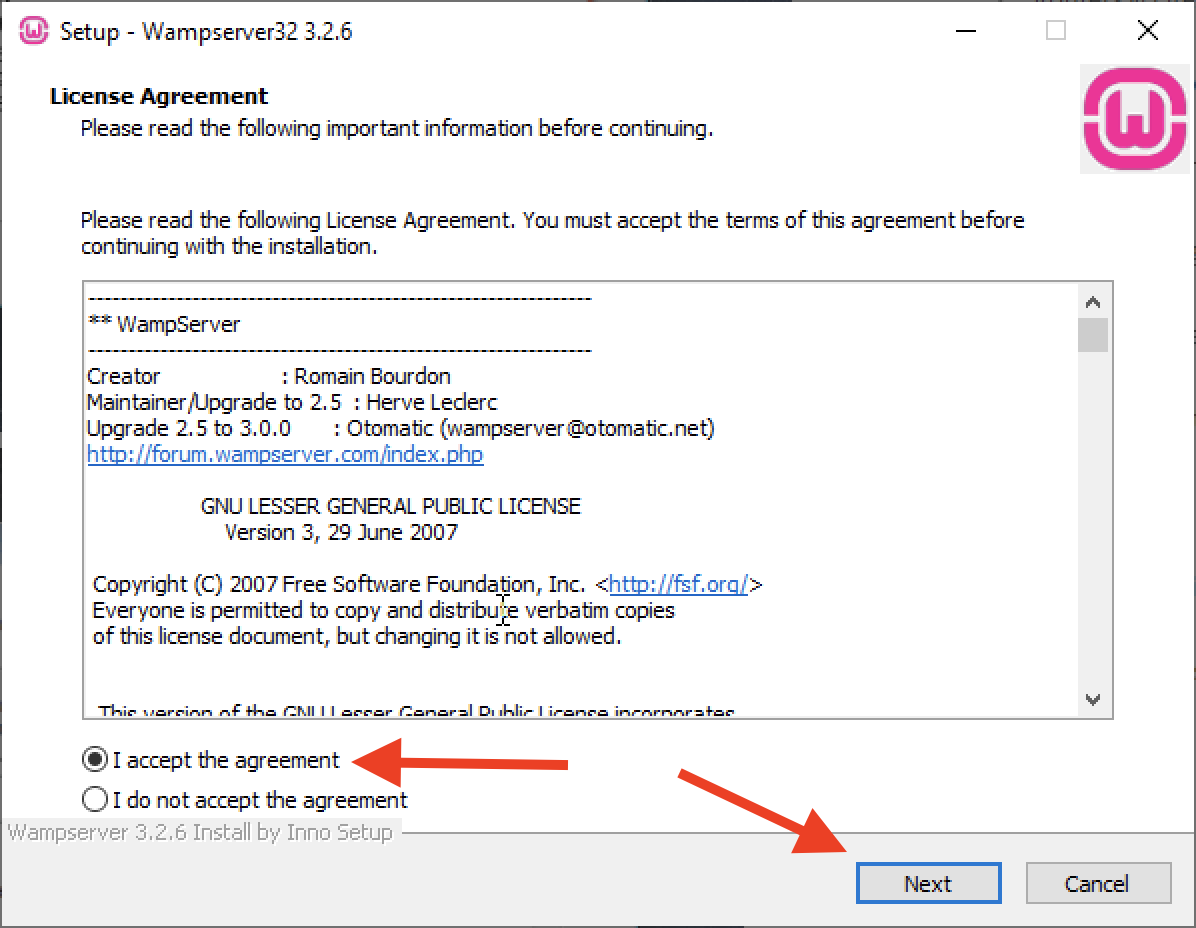
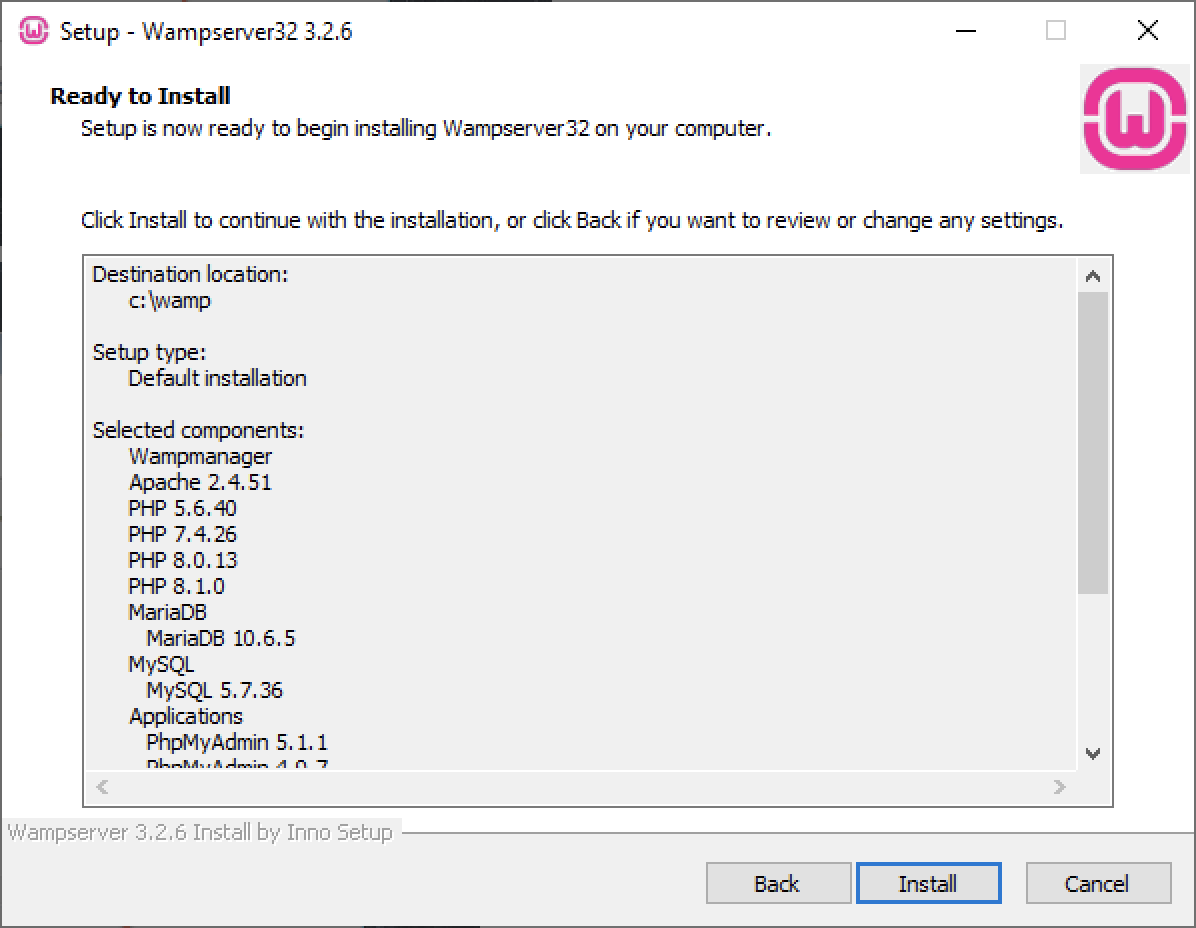
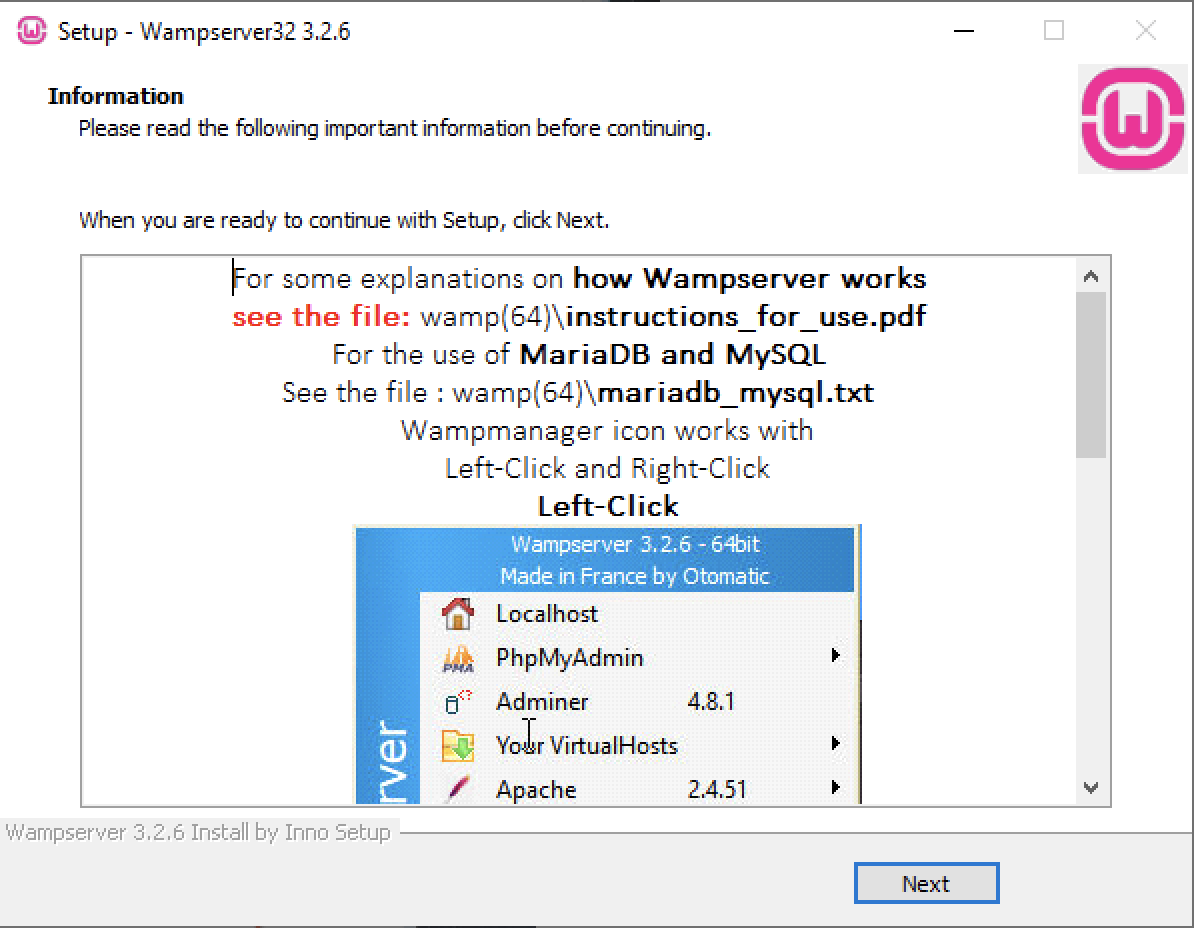
Step 3: After the software has been successfully downloaded, install the software. Please be thorough and read each page of the installation wizard as it may require you to have certain add ons required in the Windows OS.

This informational page will let you know which packages need to be “up to date”. Please review it so you do not run into any errors.


Select the components you require in this page.

Set up a folder to store your files.

Step 4: Finish and launch!

Step 5: If you have an active Firewall running set the WAMP server as an exception in your Firewall.

Step 6: Add your website files to your directory.


Server preferences (Directory & Listening Port) can be found by clicking on “Apache” then “httpd.conf”

Step 7: The last step is to make sure that your port forwarding settings in your router are correctly configured. More port forwarding information can be found here.