Port forwarding allows external devices to securely connect to services running on your local network, such as cameras, game servers, or remote access tools. This guide walks you through enabling port forwarding on an ASUS router.
What You’ll Learn In This Guide
- What port forwarding does and when it’s needed
- How to access your ASUS router’s admin interface
- Where to find port forwarding settings in ASUS firmware
- How to test your connection using a hostname and port
- Common notes to avoid setup issues across devices
Port Forwarding Setup on ASUS Routers
Step 1: Login to the ASUS router via the default gateway address.
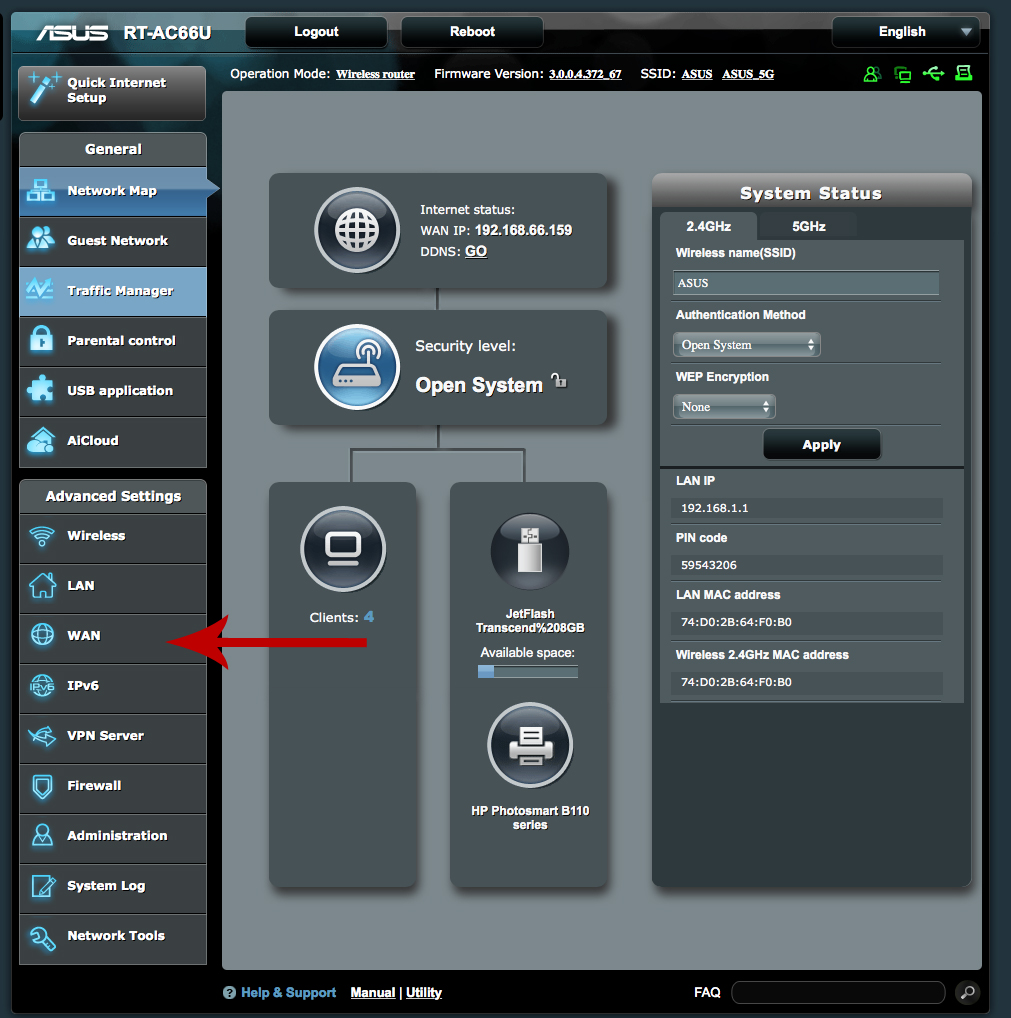
Step 2: Click on “WAN” under “Advanced Settings.”
Step 3: Click on “Virtual Server/Port Forwarding.”
Please Note: Depending on your firmware this page may differ.

Step 4: Click on “Yes” next to “Enable Port Forwarding.” Next, enter the Service Name, Port Range and Local IP. Then set the Protocol to “Both.”

Step 5: Next, click “Add/Delete” and then “Apply.”
You should be able to connect to your device via a web browser. Simply enter your hostname followed by the port number into the address bar. For example http://hostname.ddns.net:8000.
Please Note: If you are using a mobile application, you will simply need to use your hostname to connect. The application should already specify the port when attempting to connect.