Below is the complete step by step process for configuring your Abyss Web Server.
First, you will need three things:
- PC
- Abyss Web Server
- No-IP.com Account
1. The first step is to install the Web Server X1 or X2 free or paid version.
This software is available for Mac OSX, Windows, and Linux operating systems as shown here:

Download link: http://www.aprelium.com/abyssws/download.php
2. After the software has been successfully downloaded, install the software.


If you have an active Firewall running on your PC, be sure to allow the Abyss Web Server software into your Firewall’s exceptions.
3. After installing the Web Server Software, create a No-IP.com account for free by clicking on “Sign Up” when you are on No-IP.com. You can also follow our Getting Started guide which will walk you through the steps on creating a No-IP.com account.
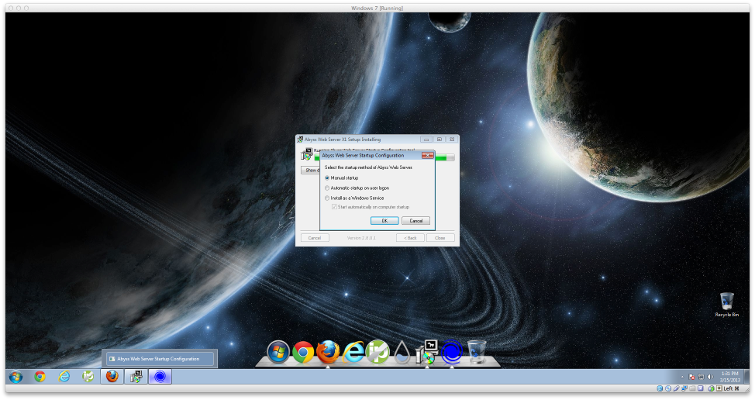
4. Login to your Abyss server.

Click on Abyss Web Server icon on taskbar then right click and select “Show Console in Abyss Server”.

Now select your language.

Create a set of login credentials in the form of a username and password. After selected, click on “OK”.

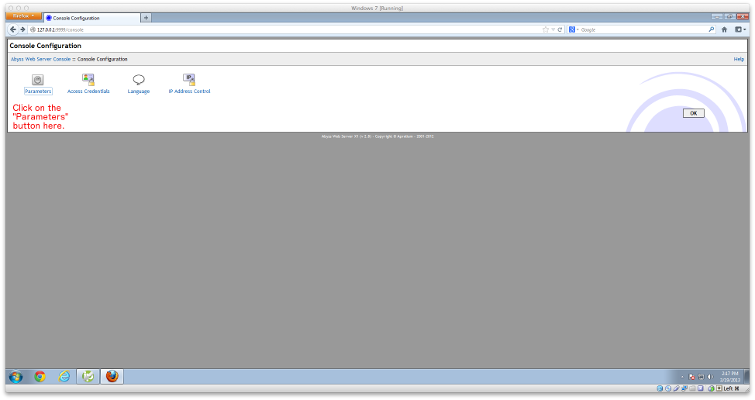
Now log into your web server for the first time using the username and password that was just created.

After logging in, click on the “Parameters” button.
If your Internet Service Provider is not blocking port 80 then make sure your server’s listening port is set to 80. If your internet service provider is blocking port 80 then make sure your server is set to listen on the same port number you specified with your port 80 redirect record.

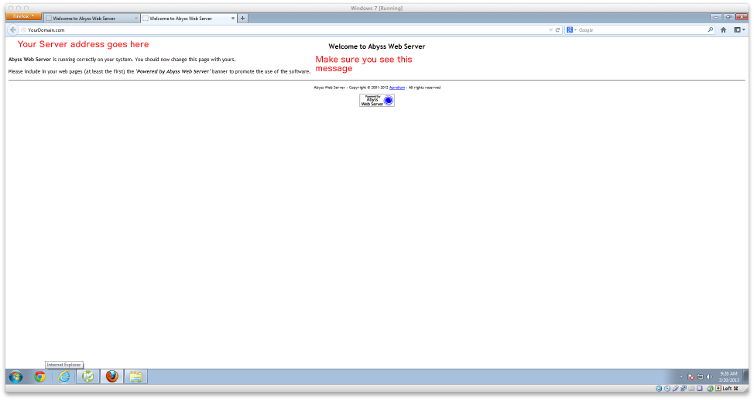
The final step is hosting your actual website. Be sure to visit the installation address (Computer > Localdisk (C:) > Abyss Web Server.) Place your website files in the “htdocs” folder.
Great job, you have now created your own web server. The last step in the process before making the website live is to make sure that the port you are using has been forwarded (opened) correctly in your router.
View our general port forwarding article for information on setting up port forwarding.