What You’ll Learn In This Guide
- Where ZyXEL routers place port forwarding and NAT settings
- How to create a working port forwarding rule
- When firewall rules may also be required
- How to test your forwarded port from outside your network
- How to use a No-IP hostname for reliable remote access
- What is the Port Forwarding option on your ZyXEL Router?
How to Port Forward a ZyXEL Router (Step-by-Step)
Port forwarding is a method of routing connections over the internet to a device on a local network. By configuring port forwarding on your ZyXEL router, you can enable a variety of services such as remote access to a media server, hosting a game server, or self-hosting a website.
Step 1: Login to the ZyXEL router via the default gateway address.
Step 2: Click on “Network” and then “NAT.”
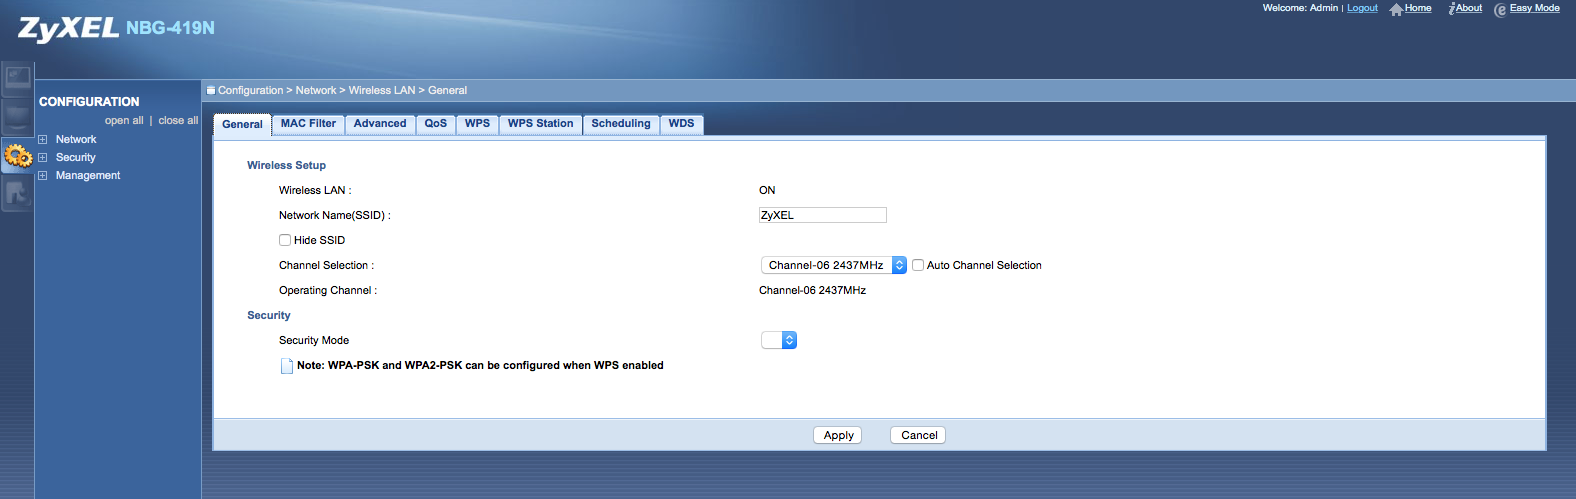
Step 3: Once on the “NAT” page click “Application” or “Port Forwarding”, depending on your router.
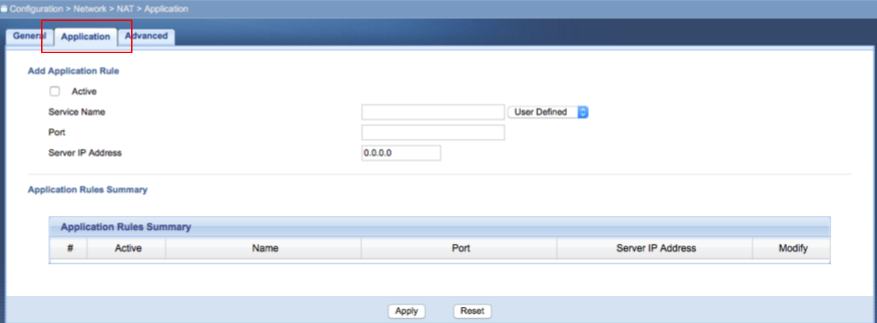
Step 4: Click on “Active.” Enter a Service Name, Port Number and Server IP Address. Then click “Apply.”

You should now be able to connect to your device via a web browser. Simply enter your hostname followed by the port number into the address bar. For example http://hostname.ddns.net:8000
Please Note: If you are using a mobile application, you will simply need to use your hostname to connect. The application should already specify the port when attempting to make the connection.