This guide will help you setup and configure Dynamic DNS within your Netgear Router. By using the integrated Dynamic DNS feature in your router, you can access your network remotely without needing to keep a computer running at all times.
Step 1: Log into your Netgear router via the default gateway.
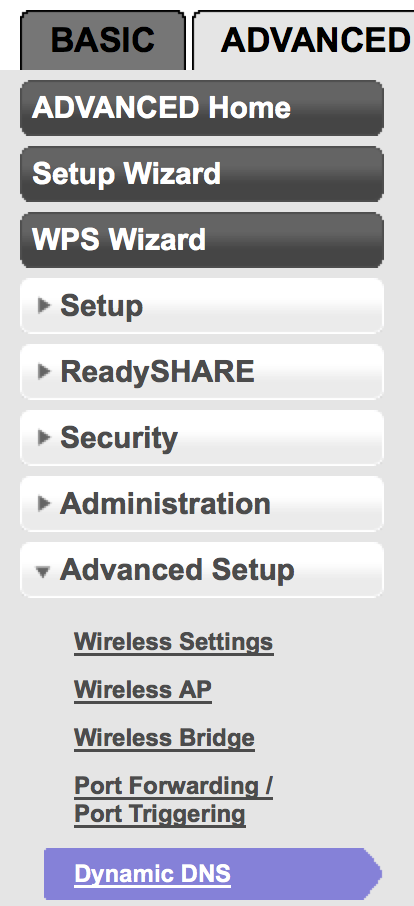
Step 2: Click “Advanced” and then “Dynamic DNS.”
Step 3: Check the box “Use Dynamic DNS.” Under Service Provider, choose “www.No-IP.com” from the dropdown menu.
Instead of using your No-IP account credentials, you can create and use DDNS Keys. It offers increased account security and better update client compatibility. The configurations will be:
- Hostname: all.ddnskey.com
- User Name: Your DDNS Key Username / Email
- Password: Your DDNS Key Password

Step 4: Click on “Apply.”
Congratulations, the Netgear router will now send us updates whenever the IP address changes.