This guide will show how to configure your Outlook email client to work with the No-IP POP3/IMAP email service.
This guide is using a very outdated version of Outlook. For newer versions of Outlook, our new Outlook Guide.
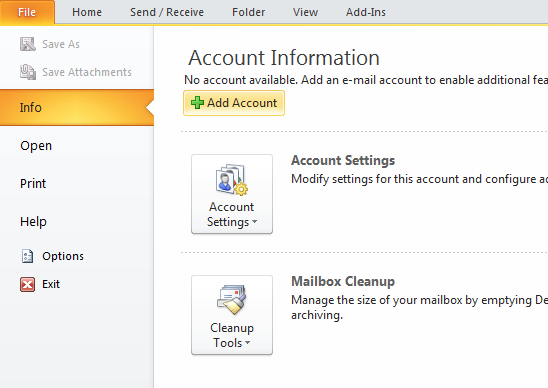
Step 1: Open Outlook and select File, then Add Account.
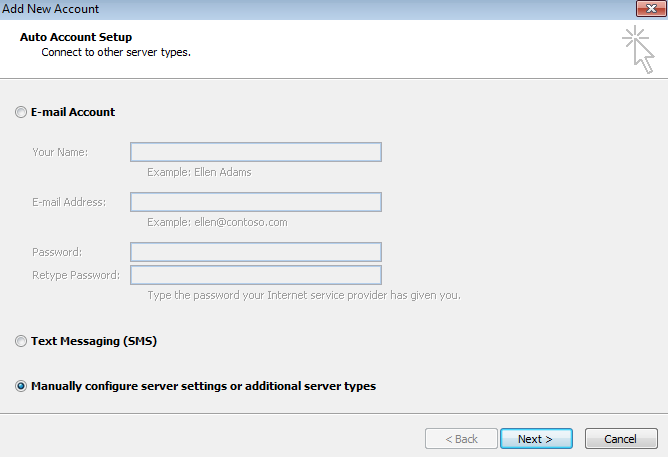
Step 2: Under Add New Account select “Manually configure server settings or additional server types” and then click Next.
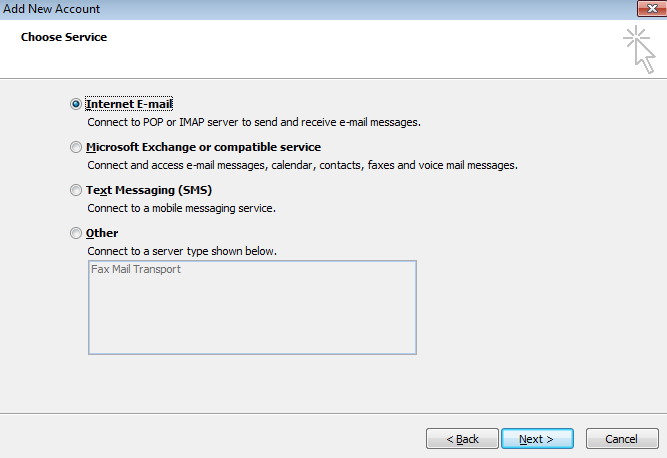
Step 3: Select Internet E-mail and click Next.
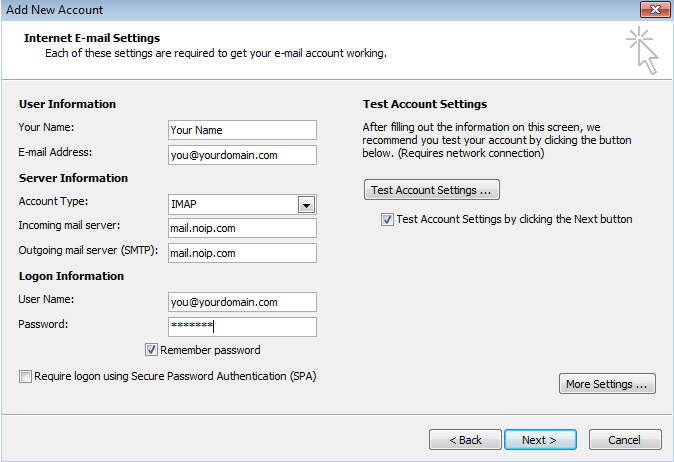
Step 4: Fill in all the required information.
- User Information: Your name should be entered as you want it to appear on the emails you send out. Email address should be the address you’re currently setting up the account for (you@yourdomain.com).
- Server Information:
POP3 Server: mail.noip.com, port 110 or 995 with SSL enabled
IMAP Server: mail.noip.com, port 143 or 993 with SSL enabled
Outbound SMTP: mail.noip.com, port 587 or 465 with SSL enabled (requires authentication)
Username: Your complete email address, e.g. user@example.com
- Login Information: The username should be set to the email account you’re going to be retrieving mail from. This is an account you create from the No-IP website when managing mail. The password field should contain the password you created at the same time you created the email account on our site.
Note: This password can and should be different than the password used to access your No-IP account.
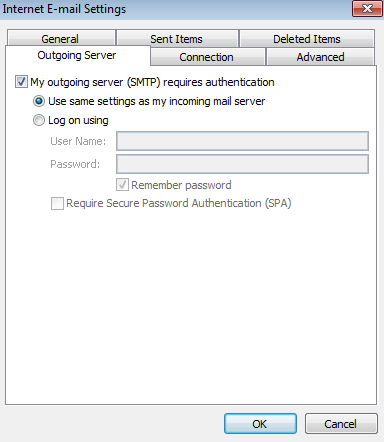
Step 5: Set Outgoing Server to use Authentication. Click More Settings and under the Outgoing Server tab check My outgoing server (SMTP) requires authentication.
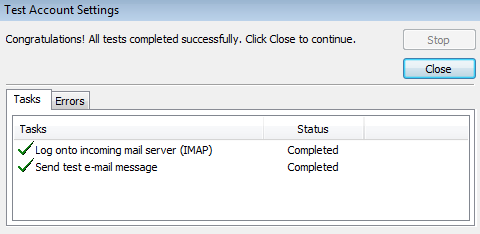
Step 6: Test new account settings. Click the Test Account Settings button to ensure that the new account settings work properly. If you’ve set everything up properly, you should see a box confirming that all the tests were passed. If not, then you’ll have the opportunity to correct the problem. Click Close to continue.
Step 7: Click Next to save the new account information.
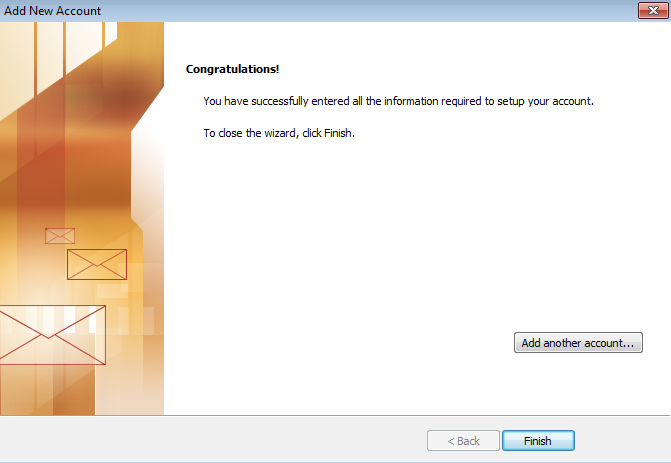
Step 8: Click Finish to close the wizard.
