This guide will provide a general overview of using the No-IP Dynamic DNS services with your home security camera.
Step 1: Create an Account
To create an account with No-IP simply click the Sign Up link at the top of the page. Fill in the required fields on the new account form and click the “Sign Up” button on the top of the page.

Step 2: Confirm Your Account
Once you have entered your account information into the new user form and submitted it, you will receive an email to the address you provided. You will need to check that account and look for the email from No-IP. Inside the email you will see a link to confirm your account, click this link. Yahoo and Hotmail customers click here
Step 3: Login to Your Account
Now that you have confirmed your account, you can login to No-IP. On the top of the page just below the No-IP logo you will see an area to enter your email address and password. Enter the information that you signed up with, and click “Login”.
Step 4a: Add a No-IP Plus Domain to Your Account
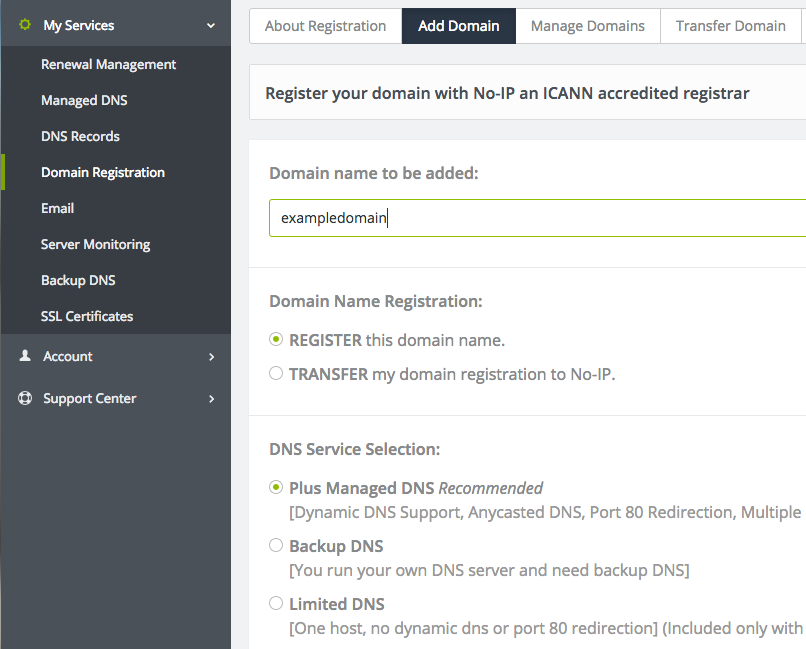
You should now be logged into the No-IP members section. Here you can add a domain to your account by either going to “Managed DNS” or to “Domain Registration”. If you are buying a new domain name simply follow the activation steps to the checkout area.
Step 4b: Add a Free/Enhanced Host to Your Account (Optional)
If you are not sure you need your own domain or all the features of the Plus service you may use our Free/Enhanced DNS service. This is also a good option if you want to try out our service before going with the Plus option. After logging into your account you can go to the “Host/Redirects” tab on the green bar of the site as described in the next step.
Note: When adding a host to your account, we must see a different IP address or modification to the host from our website every 30 days to prevent the hostname from being deleted. To prevent this you can purchase the Enhanced service.
Step 5: Add a Host to Your Domain
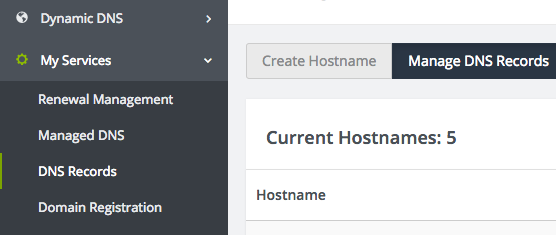
After checking out, you can log back into your account and add a host to your newly added domain name. Click on “My Services” on the left hand side and then click on “Create Hostname”. Type in a hostname, and select your domain from the drop down menu. Then click “Add Hostname” at the bottom of the page.
Step 6: Making It Dynamic
Now that you have a host in your account, you will want to install the our Dynamic Update Client at the location that has the dynamic address. This is a free download from our downloads tab at the top of the site.

After installing the Dynamic Update Client, be sure to configure it with the email address and password you used to login to this site.
Note: If you are using Sub-Accounts you will want to enter the sub account name with a colon then the email address for the username and the sub-account password.
The client will run in the Tray on Windows machines. Be sure to open it and click on the “Options” button and check the box “Run on Startup”.
![]()
Step 7: Configure Your Router (optional)
If you can reach your camera system by using the IP address, then you can skip this step. If this is a new setup you will wneed to open a few ports on your router. You may want to contact the vendor of the camera system to find out which ports need to be opened. Once you find out which ports need to be opened, you will have to consult your router’s manual and look for the port forwarding or virtual servers section. Common ports to forward are port 80 for web, port 21 for ftp, and port 25 for mail. Only forward the ports that you need to use. To verify that your router is setup correctly, visit www.portchecktool.com.
Step 8: Run Your Camera System
With the above configuration in place you can now run your services using the host and domain name your created to access them. You will no longer have to remember the IP address of the machine you are trying to connect to. If you run into trouble be sure to check our FAQ section for help.
You can learn more about using No-IP and Cameras here.