MX Records are required so that other mail servers know where to send incoming emails. Your MX record should point to your mail server or to a mail service accepting mail on your behalf (like our Mail Reflector or Managed Mail service!). Regardless of what email service you have, here is how you add an MX record to your domain:
First, log in to your No-IP Account.
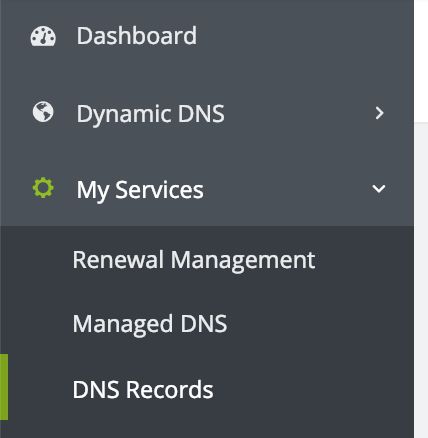
Now, you’ll want to click on ‘My Services’ on the left side of the page and then click on ‘DNS Records’:
This should load your DNS records on the right side of the page. After that click on ‘Modify’ next to the domain you wish to add MX records to.

Next, scroll down until you see ‘Mail Options’. Here is where you will add your MX records. You can click ‘Add MX Record’ if you need to add more than 1 MX record.

Please note that MX Priority means which mail server you want emails to direct to first with the lowest number being the first server to send to. If that mail server is unreachable, the email will try the next available server in the next lowest priority. No-IP supports priority levels 5, 10, 15, 20, and 25 for MX records. Unfortunately there are no other configurations for MX priority levels. The priorities are equal to each other in increments of 5. For example, what other mail providers might have as 1, we have as 5. What they would consider to be 2, we would have as 10.
Once you’ve entered in the desired MX records, you can select Update. You have successfully added an MX record!