If you have an Asus Router with Firmware 3.0.0.4.220 or above you can now use its built-in ASUS DDNS client to update your No-IP hostname. With the Asus DDNS feature enabled, you no longer need to run the No-IP Dynamic Update Client (DUC) on a computer. Instead, your router will now be acting as the update client.
Before following the steps below, please be sure to have created a DDNS key for your Domain or Hostname.
Step 1: Open up your favorite browser and go to the Asus router’s default gateway address.
- http://192.168.1.1 (Default Address)
Step 2: Login to the router (common default values listed below).
- Default Username: admin
- Default Password: admin
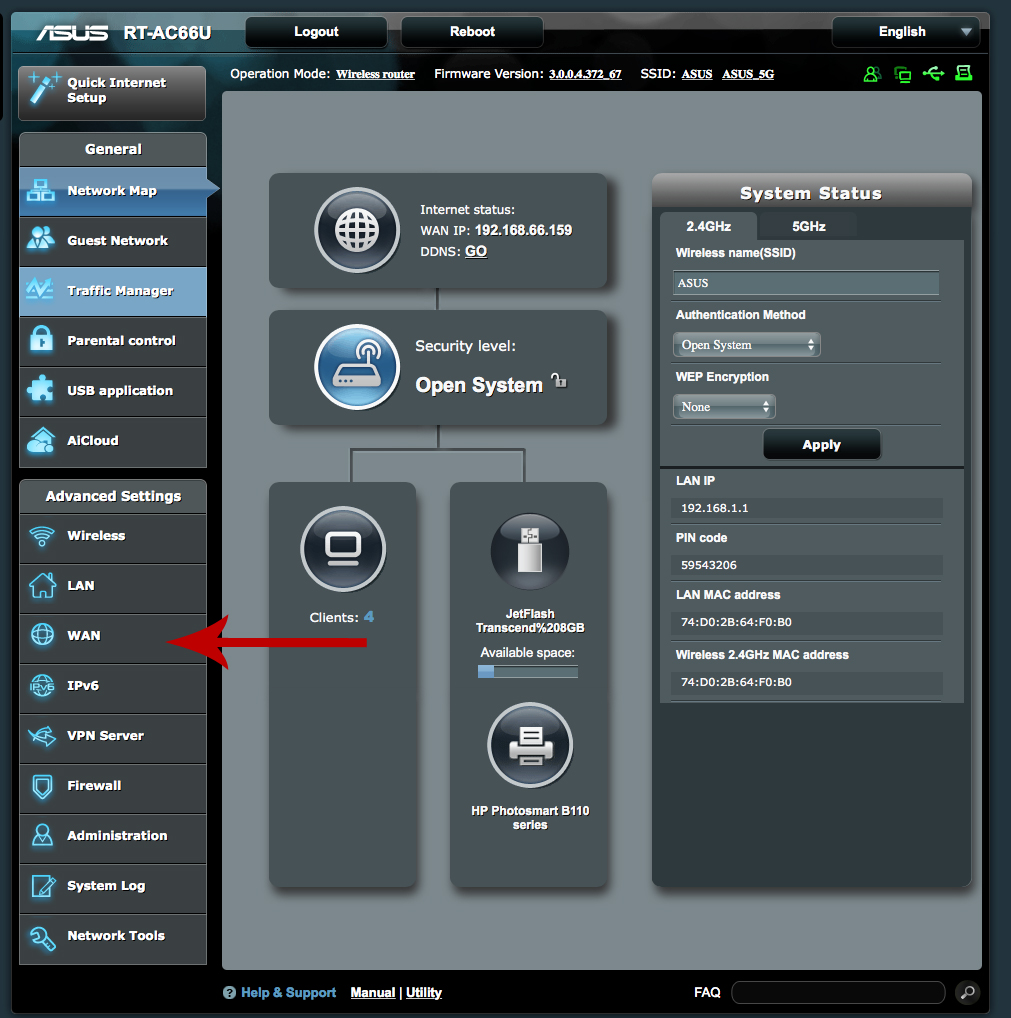
Step 3: Click on “WAN” on the left-hand side under “Advanced Settings.”
Step 4: Click on the “DDNS” tab.
Please Note: Depending on your firmware the Asus user interface may differ.
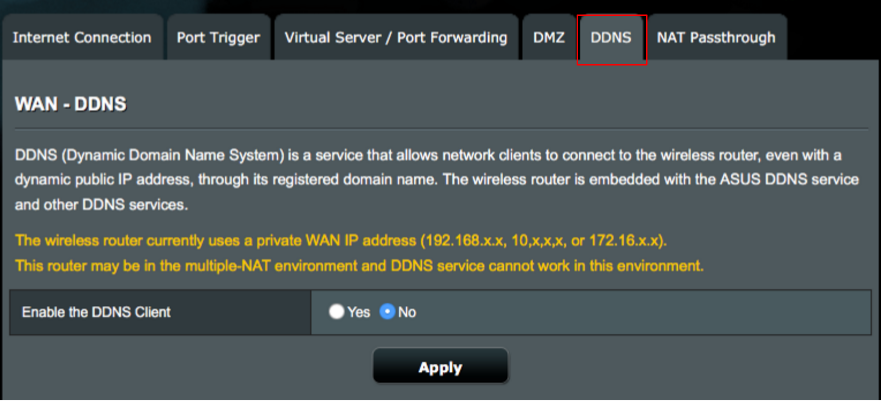
Step 5: Click on “Yes” to Enable the Asus DDNS Client.
Step 6: If you’ve activated DDNS keys, you can use the following settings:
- DDNS Server: www.noip.com
- Hostname: all.ddnskey.com
- Username or email address: Your DDNS Key Username / Email
- Password or DDNS Key: Your DDNS Key Password

Click “Apply” and that’s it! As long as your Asus router is actively running, the device will check your IP address every few minutes. If it has changed we will update the desired host with the new IP address. This will prevent you from losing a connection simply because your IP address changed.
Note: No-IP Free hostnames are deleted if they are not confirmed during the confirmation period. Every 23 days you will get an email from us when your hostname needs to be renewed. Here’s a link that explains the entire confirmation timeline.
To eliminate the 30-day renewal requirement, consider upgrading to the No-IP Enhanced service.