How to Host and Configure a Minecraft Server with No-IP.
To get started you will need three things:
To connect to the server and play, you will need a Minecraft account. If you don’t already have an account, you can create one here.
Step One:
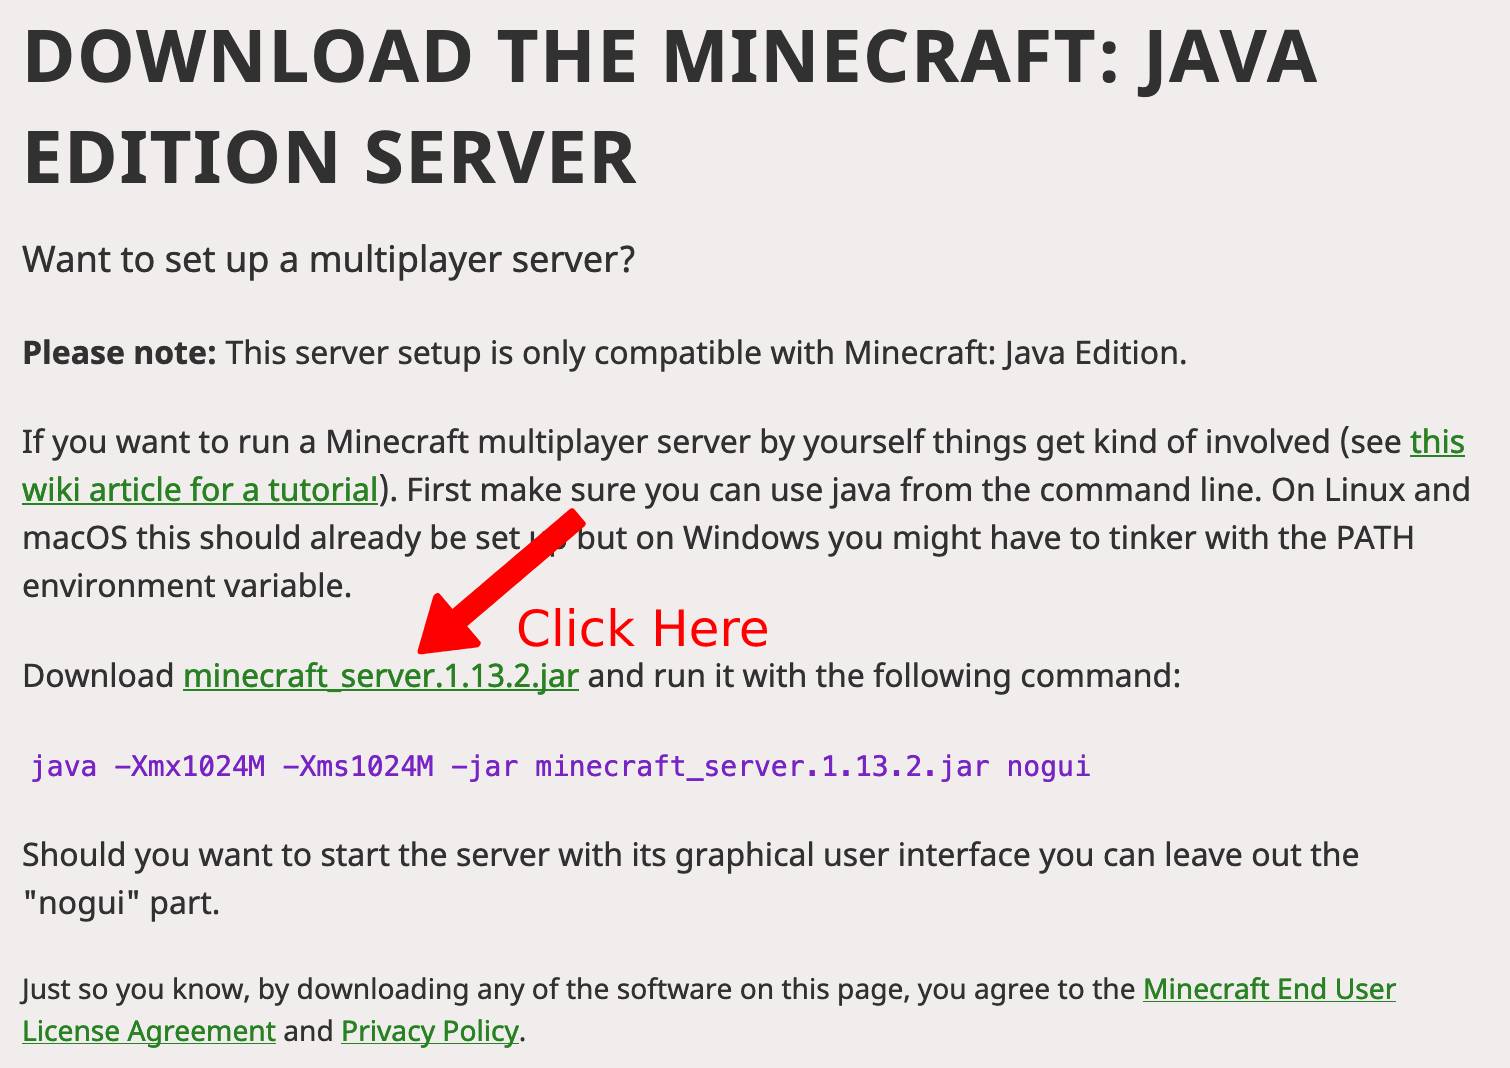
You will first need to download the Minecraft Server software package hosted here and start the server.
Step Two: Installing and configuring the Minecraft Server
You will want to use the following link and follow the installation instructions for your specific operating system:
https://minecraft.gamepedia.com/Tutorials/Setting_up_a_server
Once everything is installed, proceed to Step Three.
Step Three: Port Forwarding
You will need to port forward port 25565 to the internal IP address of your server in your router.
If you need help with port forwarding, visit portforward.com. There you can enter the make and model number of your router and the device/application/software you wish to forward. The website will then provide you with a step-by-step instruction guide on how to properly port forward your router.
After completing port forwarding, go to www.portchecktool.com to check if port 25565 is open. If it is, you will see a “Success!” message.
Further port forwarding assistance can be found in our General Port Forwarding Guide.
You will need to make sure that we are resolving your hostname to the correct external IP address. You can check your current IP address by, once again, visiting www.portchecktool.com from the network’s location.
Step Four:
Next you need to configure a way to keep No-IP up to date with your dynamic public (external) IP address. There are several ways to do this.
First, you can download our free Dynamic Update Client. This client will need to be running at all times at the network’s location. It will then check your IP address every 5 minutes and if your IP has changed, it will automatically update that change with No-IP.
You can also see if a device at your network supports No-IP for Integrated Dynamic DNS updates. Some devices that include No-IP for Dynamic DNS are Routers or Camera systems. This will remove the need to download the Dynamic Update Client.
Step Five:
At this time you should be able to connect to your server and have your friends connect as well. Simply provide them with the hostname you are using, along with the port number. For example, “hostname.domain.com:25565”.
If you are an Enhanced Dynamic DNS user and/or are using your own domain name with Plus Managed DNS you can remove the port number at the end of the server by creating an SRV record.
You can learn more about using No-IP and Minecraft here.